Quick Answer: 24° vs 36° — Which Is Better?

- 24° beam → higher intensity, focused lighting, stronger contrast
- 36° beam → wider coverage, better uniformity, fewer fixtures
-
At 3m height, 36° covers ~50–70% more area than 24°
Conclusión:
Uso 24° for accent lighting, y 36° for general lighting in most commercial projects.
Key Takeaways
- 24° = high lux + strong focus
- 36° = wide coverage + better uniformity
- 24° enhances product visibility
- 36° reduces fixture quantity
- Mixing both gives the best results
Why 24° and 36° Are the Most Used Beam Angles
On-Site Reality
In commercial environments (retail, hospitality):
- ceiling heights typically range 2.5–4m
- installation time is limited
-
sourcing must be standardized
24° and 36° are the most practical and widely available options.
Technical Explanation
According to IES beam classifications:
- 24° → spot beam (<30°)
-
36° → narrow flood (30–40°)
Reference:
https://www.ies.org/standards/
These angles provide an optimal balance between:
- light intensity
- coverage area
- spacing flexibility
Factory Direct Perspective
In large hospitality projects:
- over 60% of orders are 24° or 36°
- due to compatibility with track systems and dimming controls
24° vs 36°: Key Differences at a Glance
| Característica | 24° Beam | 36° Beam |
|---|---|---|
| Beam spread | Narrow | Medio |
| Lux intensity | Alta | Medio |
| Cobertura | Small | Large |
| Uniformity | Inferior | Más alto |
| Fixture quantity | More | Less |
| Mejor uso | Iluminación de acento | Iluminación general |
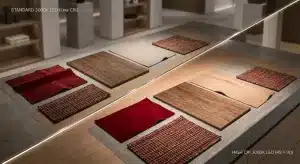
Shadow Quality: A Key Visual Difference
Beam angle affects not just brightness—but how objects look.
- 24° beam → sharp, defined shadows
- 36° beam → soft, diffused shadows
Practical impact:
- 24° → ideal for jewelry, watches, textured materials
-
36° → better for clothing, hospitality, ambient lighting
Key insight:
Narrow beams create depth and contrast, while wider beams improve visual comfort.
Beam Diameter Formula (Design Tool)
Beam Width Calculation
Beam width = 2 × mounting height × tan(beam angle ÷ 2)
Example (3m ceiling)
- 24° → ~1.27m diameter
-
36° → ~1.95m diameter
36° provides significantly larger coverage.
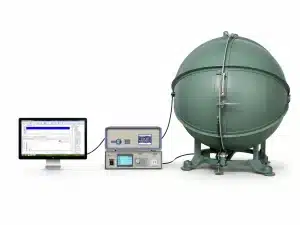
Reference (photometric testing):
https://www.ies.org/standards/lm-79/
Beam Spread Comparison (Coverage Difference)
| Height | 24° Coverage | 36° Coverage |
|---|---|---|
| 2.5m | ~1.06m | ~1.62m |
| 3m | ~1.27m | ~1.95m |
Key insight:
Small changes in beam angle create large differences in lighting distribution.
Lux Comparison: Which One Is Brighter?

With identical lumen output:
- 24° → concentrated → higher lux
- 36° → spread → lower lux
Example (800lm @ 3m)
- 24° → ~1800 lux
- 36° → ~900 lux
CBCP (Center Beam Candle Power)
CBCP measures the peak intensity at the center of the beam.
- 24° typically delivers 30–50% higher CBCP
-
creates stronger visual focus
In retail lighting, higher CBCP makes products stand out more clearly.
Reference:
https://cie.co.at/publications
Spacing Differences in Real Installations
Based on IES guidelines:
https://www.ies.org/handbook
| Height | 24° Spacing | 36° Spacing |
|---|---|---|
| 2.5m | ~2.0m | ~3.0m |
| 3m | ~2.4m | ~3.6m |
Practical impact:
- 36° reduces fixture count by 30–40%
- lowers installation and wiring cost
- improves overall uniformity
Warning: Beam Angle vs Ceiling Height
If ceiling height exceeds 3.5m:
- 36° beams may not deliver sufficient lux
- lighting becomes flat and underpowered
Recommendation:
- Uso 24° or narrower beams
- especially for accent or vertical lighting
This is one of the most common mistakes in commercial projects.
Manufacturer Insight: Common Real-World Mistake
In many retail projects:
Clients choose 36° beams to reduce fixture quantity.
Resultado:
- poor contrast
- weak product focus
- reduced visual impact
Our recommendation:
- Uso 24° beams for key areas
- combine with 36° for ambient lighting
Glare Control Consideration
- 24° beams usually offer better glare control
-
36° beams may produce more spill light if optics are poor
High-quality lens design is critical.
When to Use 24° Beam Angle
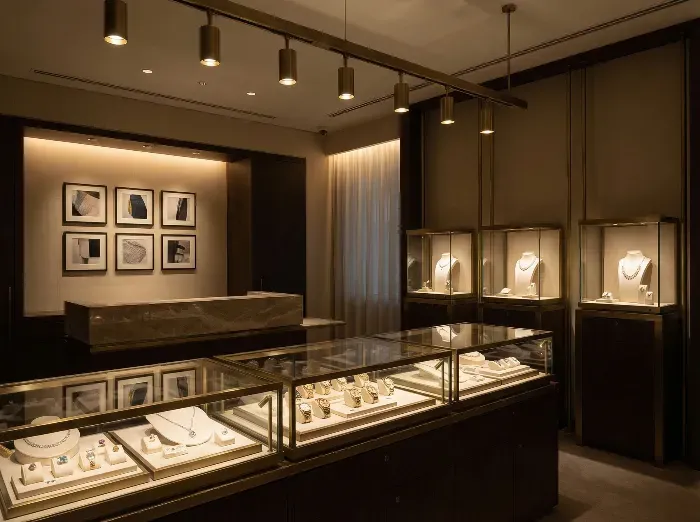
Use 24° when you need:
- accent lighting
- high contrast
- focused illumination
Applications:
- retail displays
- artwork lighting
- reception areas
Target: >1000 lux
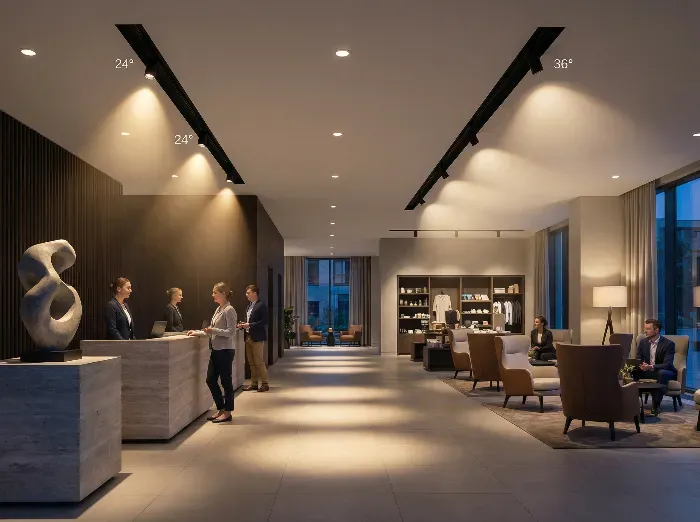
When to Use 36° Beam Angle

Use 36° when you need:
- general lighting
- uniform distribution
- fewer fixtures
Applications:
- corridors
- hotel lobbies
- open commercial areas
Target: 500–800 lux
Application Note (Fixture Selection)
In higher ceilings (4–6m):
- larger fixtures like AR111
- combined with 24° beam
provide better intensity than standard GU10 lamps.
Real Project Examples
Minorista
- 24° → product focus
- 36° → background
Hotel Lobby
- 36° grid for floor
- 24° for architectural features
Galería
- 24° for artwork
- 36° for ambient
Combining both angles delivers optimal results.
Common Mistakes When Choosing Beam Angles
- Using 36° for high ceilings
- Using only one beam angle
- Ignoring spacing rules
- Not simulating lighting
Solution:
- use Dialux / Relux
- verify beam angle before installation
FAQ: 24° vs 36° Beam Angle
Which is better for 3m ceiling?
36° for general lighting.
Is 24° too narrow?
No — ideal for accent lighting.
Can I mix 24° and 36°?
Yes — standard professional approach.
Which saves more cost?
36° reduces fixture count but may reduce lighting quality.
Inventory Strategy for Distributors
For general commercial demand:
- 60% → 36° beam (general use)
- 40% → 24° beam (accent use)
This mix:
- reduces stock risk
- covers most applications
- improves turnover
Final Recommendation: How to Choose
- Need focus → choose 24°
- Need coverage → choose 36°
- Need both → combine both
Perspectiva de Ingeniería
In real projects:
- mixed beam strategy reduces cost by 20–30%
- improves lighting performance
- minimizes rework
Conclusion: Business Value
Choosing the right beam angle:
- reduces installation cost
- improves lighting quality
- avoids rework
- enhances long-term performance
24° = precision lighting tool
36° = efficiency lighting tool
Planning a commercial lighting project?
Nuestro equipo de ingeniería puede ayudarle:
- select beam angles
- optimize spacing
- simulate lighting
to avoid costly mistakes before installation.