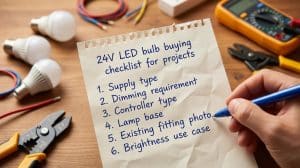
用24V LED替换旧MR16卤素灯:检查电源和调光功能
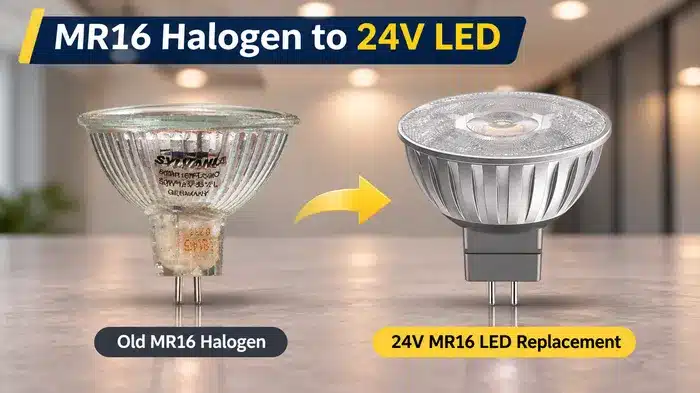
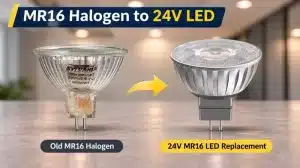
You’re replacing old MR16 halogens with 24V LEDs. The new bulbs use less power and fit the same socket. Sometimes you can just swap them. On older systems, the power supply behind the fitting and the existing dimmer may not be up to it.
Before ordering a whole batch, check two things: what the existing power supply is actually outputting, and how the old system is dimming.
Check the old power supply first
MR16 describes the lamp’s reflector size, not its voltage. Traditional halogen MR16s run on 12V, but 24V versions exist too. GU5.3 bi-pin sockets look the same regardless of voltage, so the socket won’t tell you what the circuit is supplying.
If the existing system is 12V, a 24V LED isn’t a direct replacement — even if it fits the same socket. You’ll need a 24V supply or a bulb rated for the existing voltage.
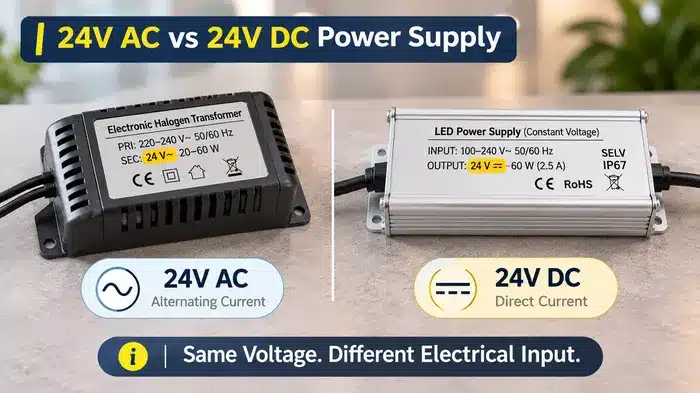
For 24V systems, look at the transformer or power supply label. If it says 24V AC, the circuit is running alternating current. If it says 24V DC, it’s direct current. Some older electronic halogen transformers put out high-frequency AC rather than a clean 50/60Hz sine wave.
That distinction matters when you choose the replacement LED.
If the transformer label has faded or is hidden above a ceiling, don’t guess from the socket. Have an electrician measure the output under load. Standard multimeters don’t always read high-frequency transformer outputs accurately.
Also check the condition of the lamp holders and wiring. Old GU5.3 sockets get loose and heat-damaged after years of use. A new LED bulb won’t fix a bad connection.
Before ordering, check the bulb’s dimensions too. Some LED MR16s have larger heat sinks than the original halogens and may not fit properly inside older fixtures.
Can you use a DC bulb on an AC transformer?
Not unless the bulb is specifically rated for AC input too.
For a sine-wave AC supply, 24V AC peaks at around 34V, while 24V DC holds steady at 24V. The electronics inside an LED bulb have to be designed for the waveform they receive. Applying 24V AC to a DC-only bulb can cause it to malfunction or fail early.
Some MR16 LEDs are rated for both 24V AC and 24V DC. If that’s what you need, check the datasheet explicitly — don’t assume it from the "24V" label.
Even when a bulb is rated for AC/DC, that doesn’t mean every old transformer will work with it. An electronic halogen transformer may have a minimum load requirement or put out a frequency outside the LED’s supported range. AC/DC compatibility is not the same as universal transformer compatibility.
If the old system supplies 24V AC and your chosen LED is DC-only, you have two options: pick an LED that’s compatible with the existing AC supply, or replace the power supply with a suitable 24V DC unit. Which makes more sense depends on the number of fittings, the existing equipment and the cost of the retrofit.
Will the old halogen transformer handle LED loads?
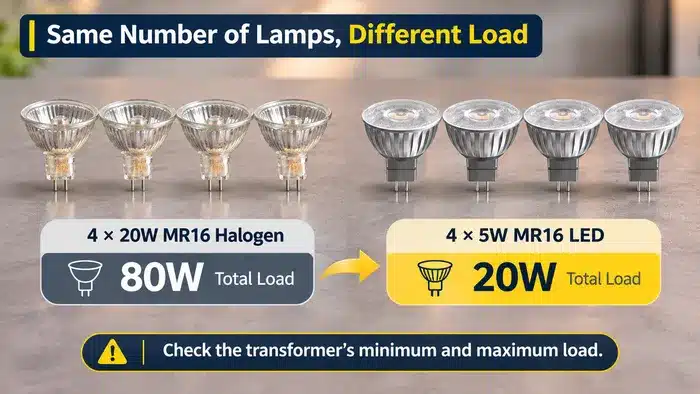
An older halogen transformer may still work with LED bulbs, but don’t assume it will. Some electronic transformers need a minimum load to operate properly, and replacing halogens with lower-wattage LEDs can put the circuit below that limit.
Here’s why. A circuit running four 20W halogen MR16s is an 80W load. Swap in four 5W LEDs and the total drops to 20W. A properly rated LED-compatible supply should handle that load without trouble. An older electronic halogen transformer may refuse to start, flicker, or shut down on such a light load.
Some transformers need a minimum load just to regulate. Others are sensitive to the way an LED bulb’s internal driver draws current — it’s not the smooth, resistive load a halogen filament provides.
The symptoms are familiar: bulbs flicker, take a long time to start, switch off unexpectedly, or don’t light at all. That doesn’t mean the LEDs are defective.
A transformer rated for 20–60W may not run properly with a single 5W LED on the circuit. Check the manufacturer’s minimum and maximum load ratings before deciding whether to keep it.
The LEDs work at full brightness but won’t dim
This is where a simple bulb replacement can become more complicated.
Halogen lamps are easy to dim. LED bulbs have electronic driver circuits inside, and those circuits don’t always respond the way the old halogen load did. Common symptoms: full brightness works fine, but dimming causes flicker; or the bulb stays bright through most of the dim range and then drops sharply to off. Buzzing and uneven brightness across multiple bulbs can also show up.
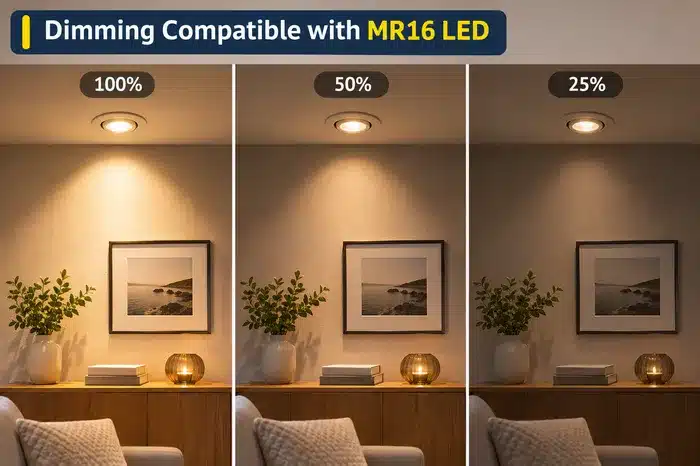
Before you try another bulb, figure out how the old system was dimming. Was it a leading-edge dimmer on a magnetic transformer? A trailing-edge dimmer on an electronic transformer? Or a separate low-voltage PWM controller?
These arrangements aren’t interchangeable. A bulb described as "dimmable" still has to work with the specific dimming method your system uses. A 24V DC bulb designed for external PWM dimming needs a compatible low-voltage controller. A mains-voltage phase-cut dimmer doesn’t provide that output directly, even if the old halogen system used one.
If dimming matters, test the whole combination — bulb, transformer, and dimmer — not just whether the bulb turns on. Check behavior at full brightness, mid-range, and the lowest level the project needs.
When can you just swap the bulbs?
If the existing power supply puts out the right voltage and waveform for the bulb, the load is within range, and the dimming method matches, you can usually just replace the bulbs. The transformer doesn’t need changing just because the load is now LED.
You’ll need to change or add something if:
- The old system is 12V and the bulb is 24V.
- The old supply is 24V AC and the bulb is DC-only.
- The old transformer can’t regulate at the low LED wattage.
- The existing dimmer doesn’t play well with the LED driver.
- The dimming range isn’t smooth or stable at low brightness.
For bigger jobs, check how many bulbs share each transformer and whether they’re all dimmed together. Also consider how accessible the transformers are. If they’re hidden above a finished ceiling, the cost of going back to replace incompatible units later usually outweighs the savings of trying to keep the old ones.
Test one bulb first
For a single fitting in an accessible place, checking compatibility is straightforward. For a hotel, restaurant or retail job with dozens of MR16s, test a sample first.
For the final compatibility test, use the actual transformer and dimmer from the installation. A bulb working on a bench power supply doesn’t prove it will work with the existing system. Check that it starts reliably, runs without flicker, and dims smoothly if dimming is required.
Also check the beam angle. A narrow 24° spotlight and a wider 36° flood look very different on the same display, even if both are 5W. If you’re replacing accent lighting, match the original beam angle or test in the actual fitting.
If several bulbs share a transformer, test a representative group at the real load. One bulb working on its own doesn’t prove the whole circuit will behave the same way.
The test will tell you whether the existing equipment can stay. If it can’t, you’ll find out before the full order arrives — not after installation.
Send us your setup
If you’re planning a 24V MR16 LED replacement, send Tecolite the old lamp details, transformer model, dimmer type and required dimming range. We can help figure out whether you can just swap the bulbs or if the power supply needs updating.